Related Links
Integrate ASUSTOR NAS with IDrive® e2 using Cloud Backup Center
ASUSTOR NAS is a network-attached storage solution that provides centralized file management, backups, media streaming, snapshots, app installation, and remote access through the ADM operating system. Its Cloud Backup Center enables ASUSTOR NAS to connect with cloud storage services, helping users extend local storage and protect critical data with cloud backups. Integrating ASUSTOR NAS with IDrive® e2 provides a capable, scalable cloud object storage solution that effortlessly integrates with your NAS for secure, efficient, and reliable data backup.
Prerequisites
Before you begin, ensure the following:
- An active IDrive® e2 account. Sign up here if you do not have one.
- A bucket in IDrive® e2. Learn how to create a bucket.
- Valid Access Key ID and Secret Access Key. Learn how to create an access key.
- The latest version of ASUSTOR NAS Cloud Backup Center installed on your machine.
Configure Asustor NAS with IDrive® e2
The following steps can help you successfully configure and integrate ASUSTOR NAS with IDrive® e2 using Cloud Backup Center.
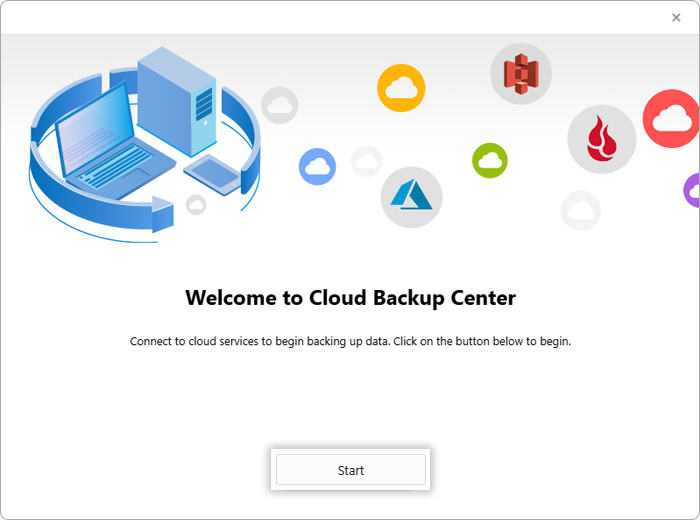
- Install and open Cloud Backup Center on your ASUSTOR NAS, then click Start to begin a new configuration.
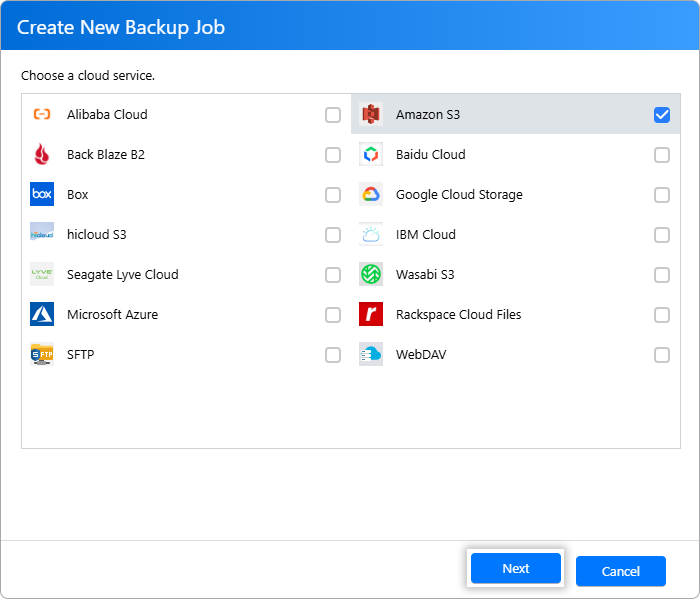
- Select Amazon S3 as the cloud service, then click Next.
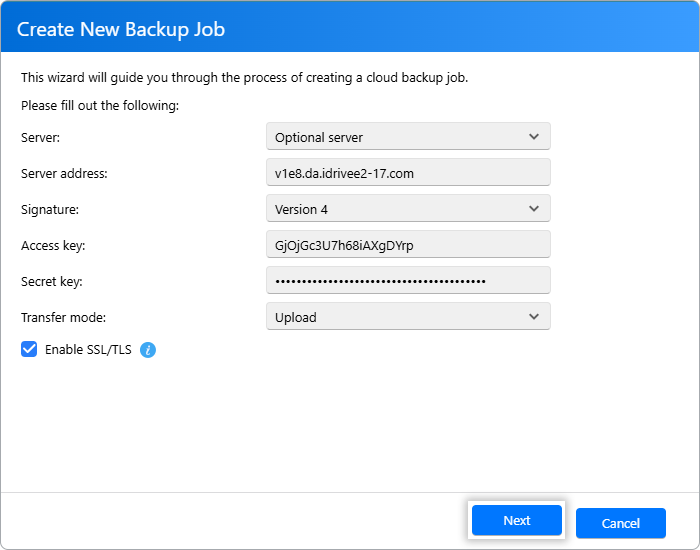
- To configure your IDrive® e2 bucket as the destination storage, follow the steps below.
- Click the Server dropdown and select Optional Server.
- Enter your IDrive® e2 server endpoint as the Server address.
- Click the Signature dropdown and select Version 4.
- Enter your IDrive® e2 Access Key as the Access key.
- Enter your IDrive® e2 Secret Key as the Secret key.
- Click the Transfer mode dropdown and select Upload.
- Select the Enable SSL/TLS checkbox, then click Next.
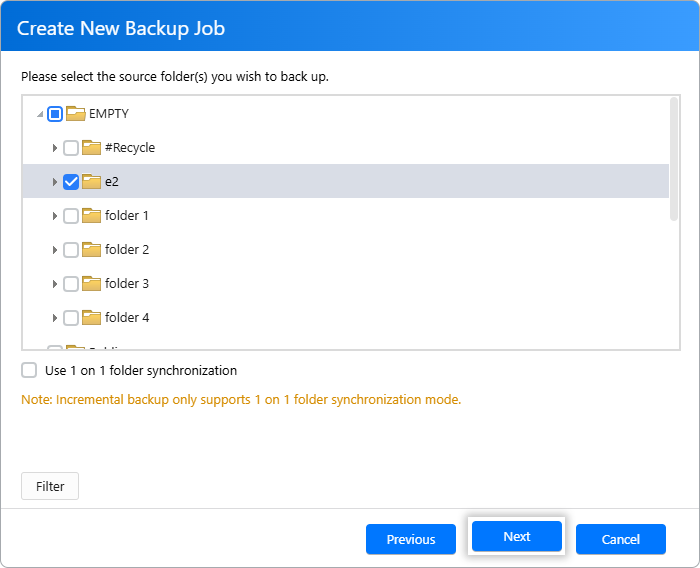
- Select the source folder from the NAS File directory, then click Next.
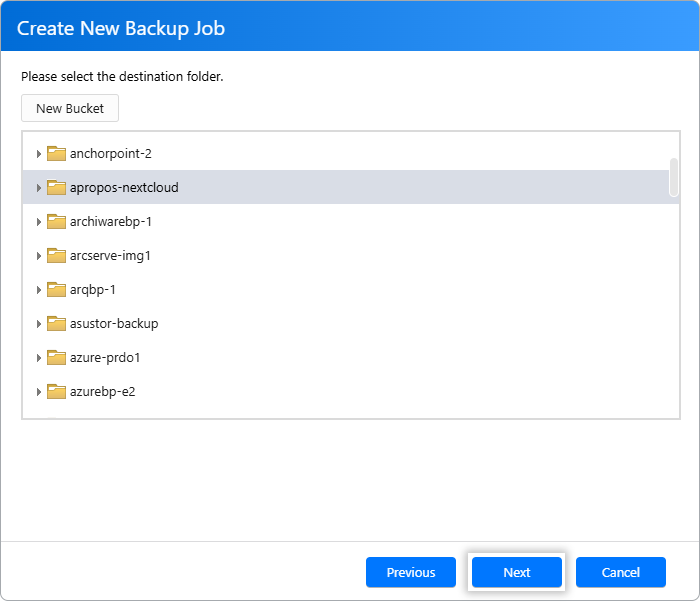
- Select your e2 bucket as the destination folder and click Next.
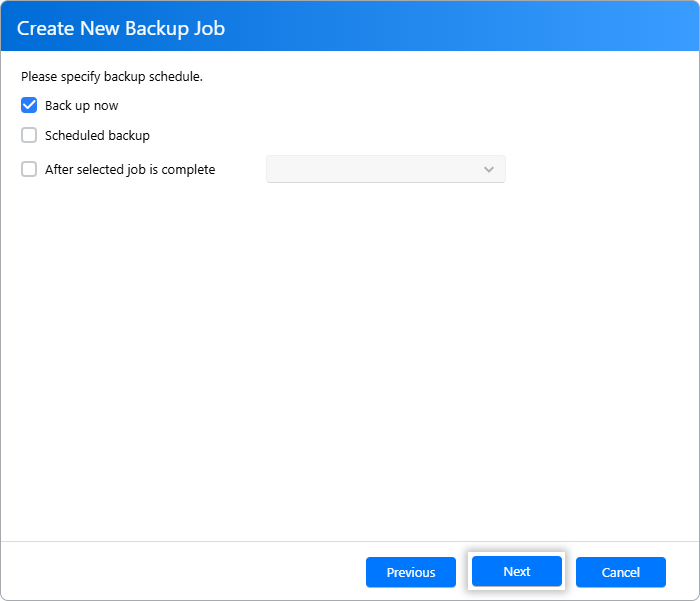
- Select either of the backup schedule checkboxes as required, then click Next.
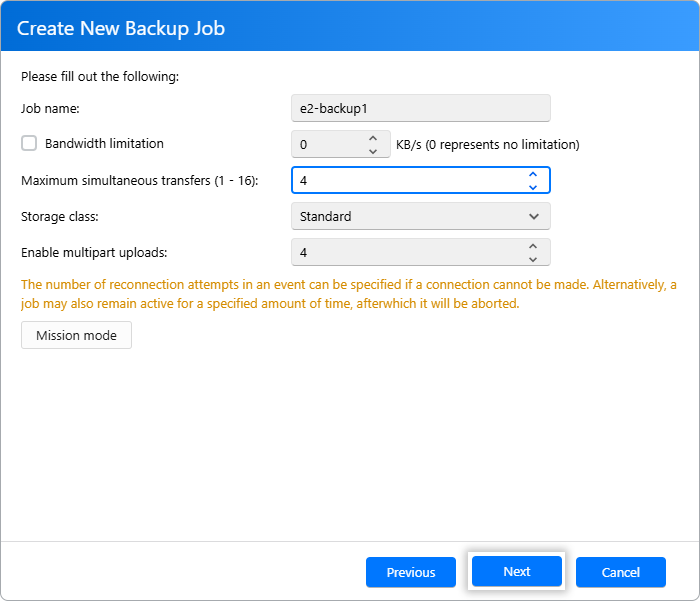
- Enter a Job name and modify the settings as required, and click Next.
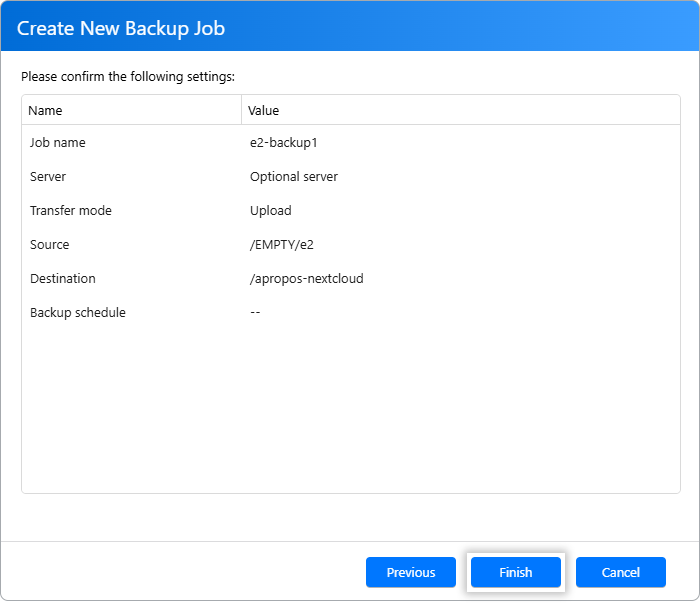
- Review your backup job settings and click Finish.
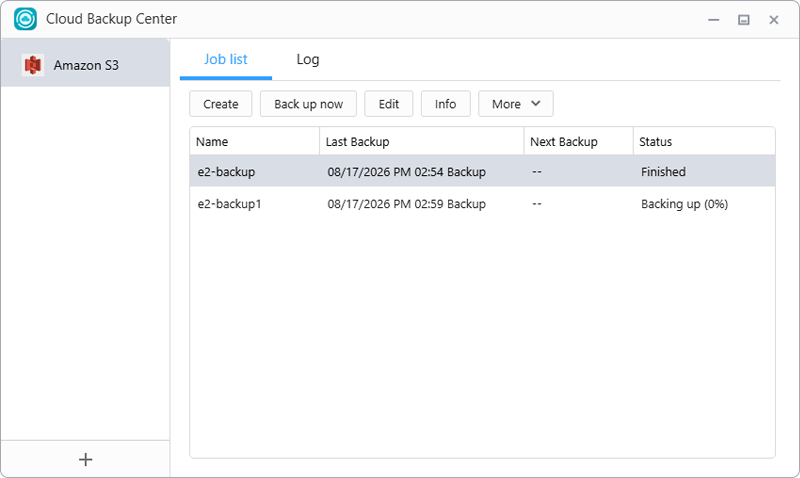
Your recently created backup job is now listed in the Job list, along with its Last Backup timestamp and Status.