Related Links
- S3 Developer Guide
- Endpoints and Access Keys
- Third-Party Tools
- Veeam®
- Veeam® 12 Direct-to-Cloud
- MSP360
- MSP360 Cloudberry
- MSP360 CloudBerry Explorer
- MSP360 Managed Backup Service
- Ahsay
- Acronis Cyber Protect Cloud
- Anchorpoint
- AirLiveDrive
- Archiware P5
- Arcserve
- Arcserve ImageManager
- Arq Backup
- BackupAssist
- Bunny.net
- ChronoSync
- Cloudmounter
- Cloudflare
- Comet
- Couchbase
- CrossFTP
- CuttingRoom
- CubeBackup
- Cyberduck
- Dell
- Dropshare
- Duplicacy
- Duplicati
- EditShare
- ExpanDrive
- Fastly CDN
- Files.com
- Filezilla Pro
- Flexify.IO
- GoodSync
- Hammerspace
- Hedge OffShoot
- iconik
- Iperius Backup
- iRODS
- LucidLink
- Milestone XProtect
- Mountain Duck
- MultCloud
- /n software S3 Drive
- NAKIVO Backup and Replication
- Nextcloud
- NirvaShare
- NovaBACKUP
- odrive
- Photos+ Cloud Library
- PureStorage
- qBackup
- QNAP
- Quest Rapid Recovery
- Rclone
- Restic
- Retrospect
- S3 Browser
- S3cmd
- S3Drive
- s5cmd
- S3FS
- SFTPCloud
- SimpleBackups
- Snowflake
- SyncBackPro
- Syncovery
- Synology Hyper Backup
- Synology Cloud Sync
- Transmit
- TrueNAS® CORE
- UpdraftPlus WordPress
- Vantage Gateway
- Veeam® Backup for Microsoft 365
- Vembu BDR Suite
- Veritas Backup Exec
- WinSCP
- Windows Network Drive
- CNAME Record Guide
- S3 API Documentation
Milestone XProtect
Use IDrive® e2 in combination with Milestone XProtect Video Management Software and stream videos to the cloud with low-latency live viewing and fast remote playback. Extend the storage to IDrive® e2 using a third-party application like Tiger Technology Storage Bridge.
- Log in to the Milestone XProtect Management client and click Storage Bridge. The list of Storage Bridge plugins installed on the Milestone VMS will be displayed.
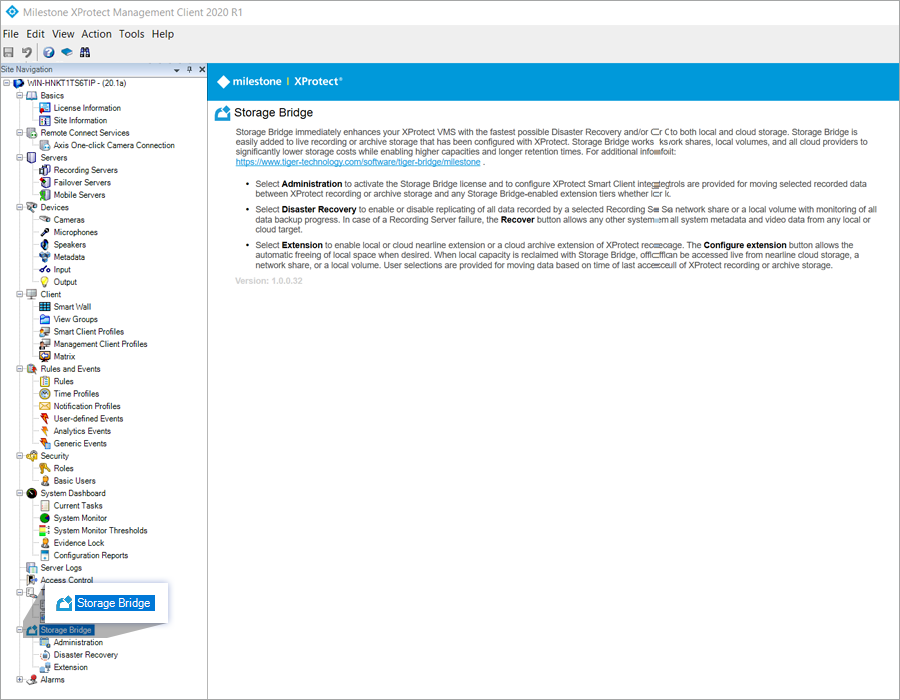
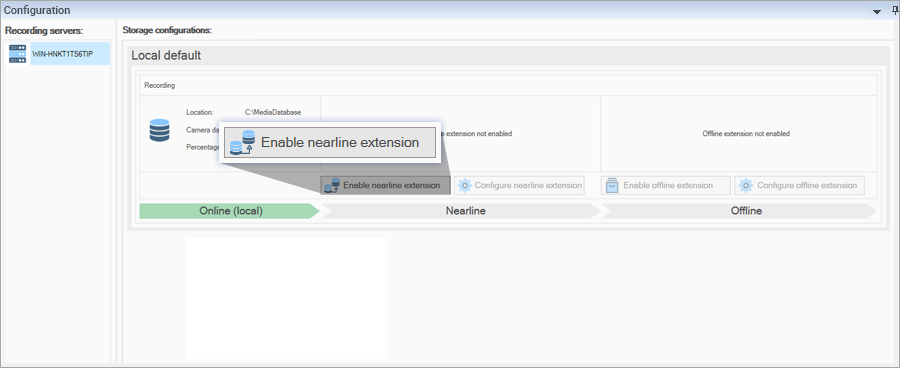
- Click Extension to view the location for storing recordings using the Milestone Recording Server.
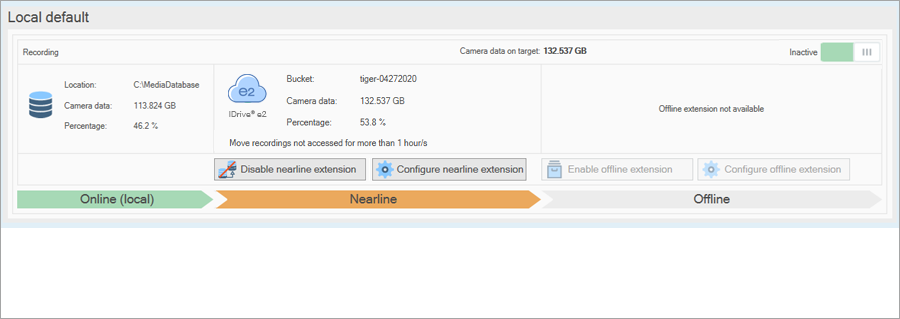
- Click Enable nearline extension.
- Select IDrive® e2 and enter the Server URL, Region, Access Key, and Secret Key obtained from your IDrive® e2 account.
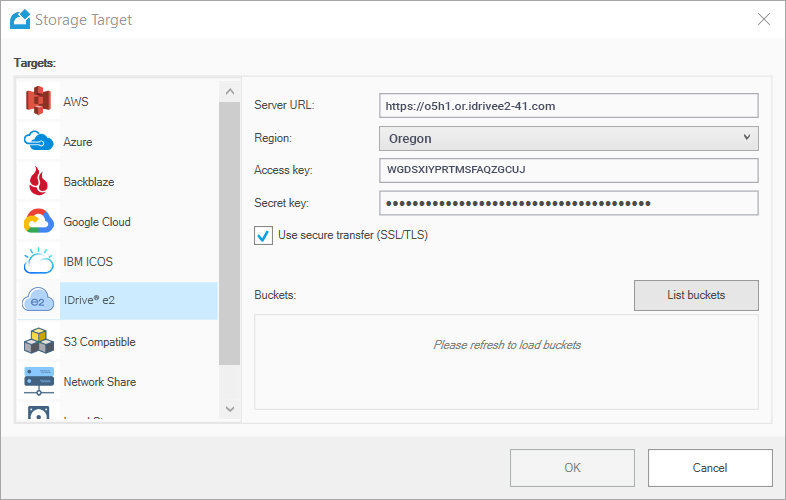
- Click List Buckets.
- Select the IDrive® e2 bucket and Click OK to confirm.
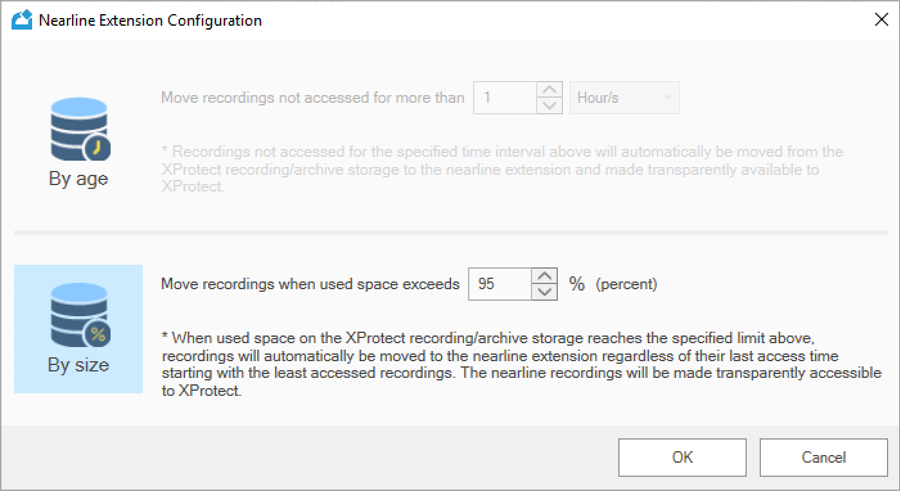
- Click Configure nearline extension.
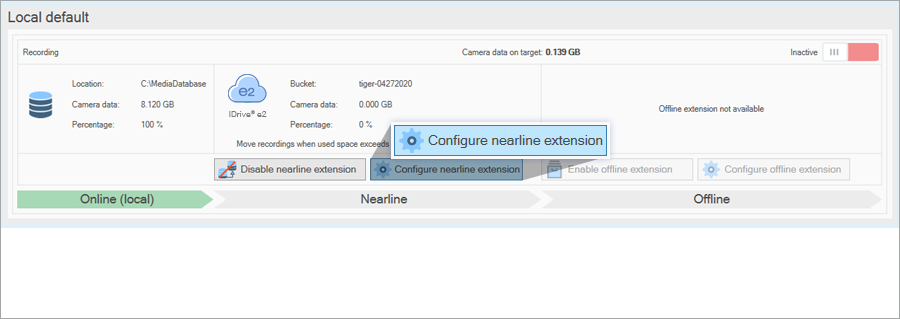
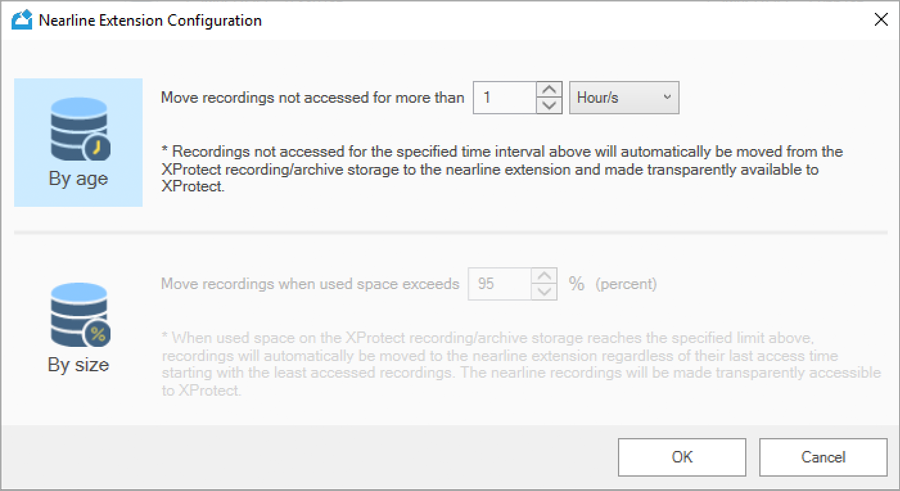
- Choose any two options as shown below and set the default pre-condition to transfer the recordings to IDrive® e2. Click OK.
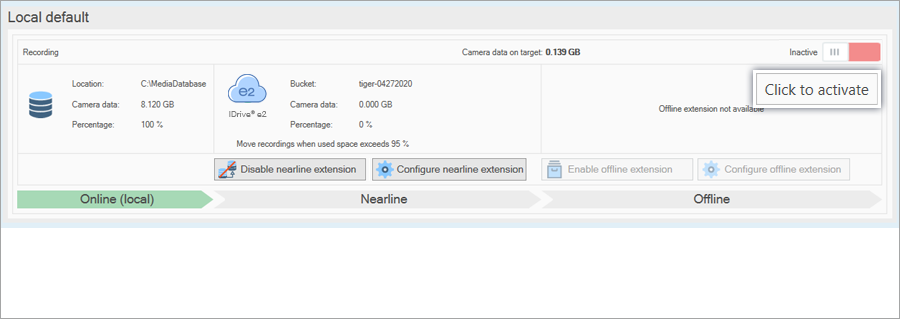
- Click Click to activate.
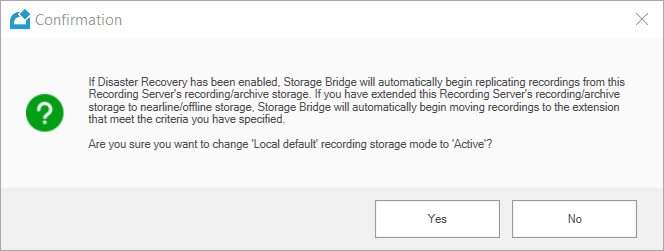
- Click Yes in the confirmation pop-up.
- The recordings will be stored in the location specified in steps 2.
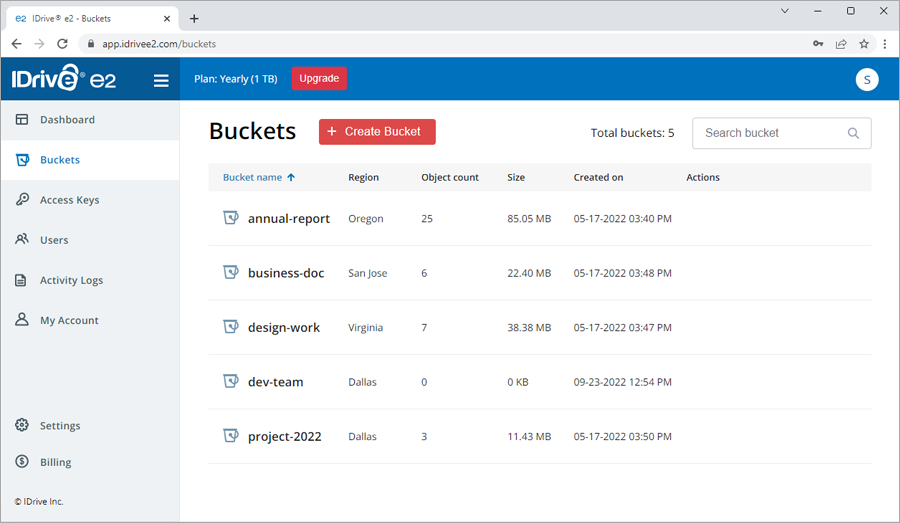
You can also view the recordings in your IDrive® e2 account by browsing the target bucket.