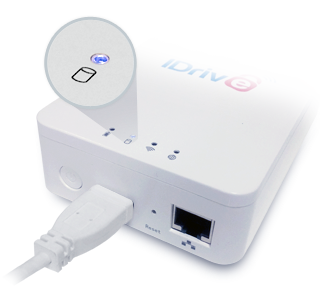
IDrive Wi-Fi Device Configuration for Local Backup
Configure using wireless mode
You have to enable internet connectivity while performing your local backup. The IDrive Wi-Fi device must be setup in a 'pass-through' mode, so that you can connect to the Wi-Fi storage device as well as the internet. Switch on the IDrive Wi-Fi device - plug in using the AC adapter, press and hold the power button for a few seconds, until the 'Wi-Fi' symbol lights up.
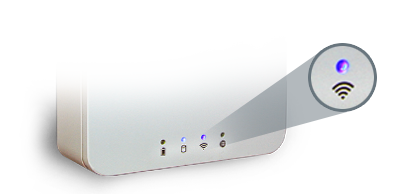
There are two different ways you can initiate Internet access ('pass-through'), via IDrive Wi-Fi
Method 1:
Using LAN based internet connection. Connect IDrive Wi-Fi device to the network using LAN cable, or better yet, for best results, connect the IDrive Wi-Fi device to the back of the router for optimal pass through internet connection.

Power on the Wi-Fi Device, and from your desktop, tablet or mobile device, connect to the Wi-Fi network it broadcasts. (This will appear in your list of available networks as 'IDriveWiFi-XXXX').
To connect to IDrive Wi-Fi first time, use default network password '11111111'.
Method 2:
Power on the Wi-Fi Device, and from your desktop, tablet, or mobile device, connect to the Wi-Fi network it broadcasts. (This will appear in your list of available networks as 'IDrive WiFi-XXXX')
- Open a web browser and go to http://10.10.10.254.
- Click/tap the Sign in button (no password required by default).
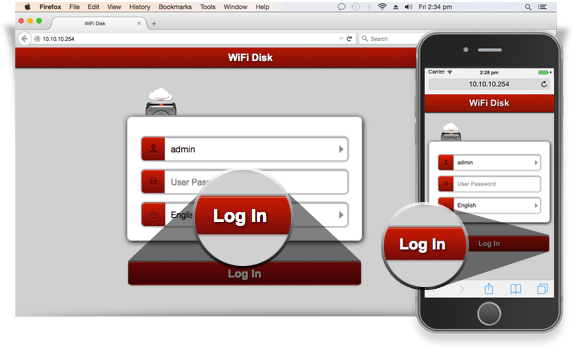
- Click/tap the Settings button.
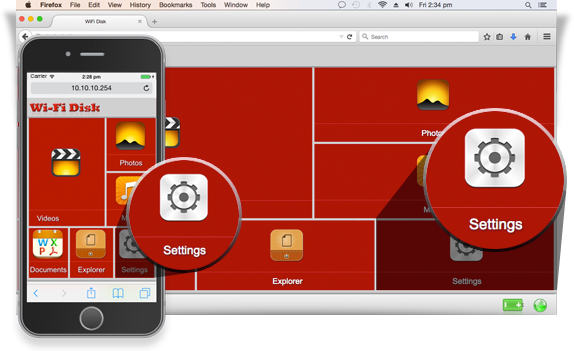
- Click/tap the Network button.
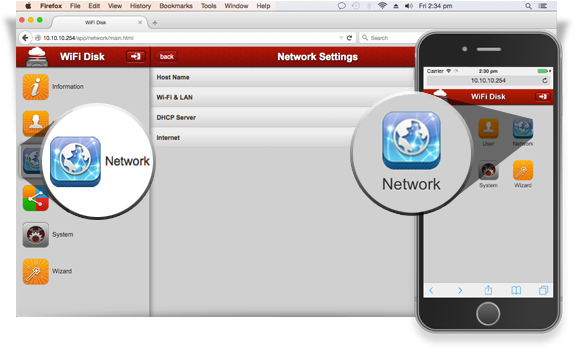
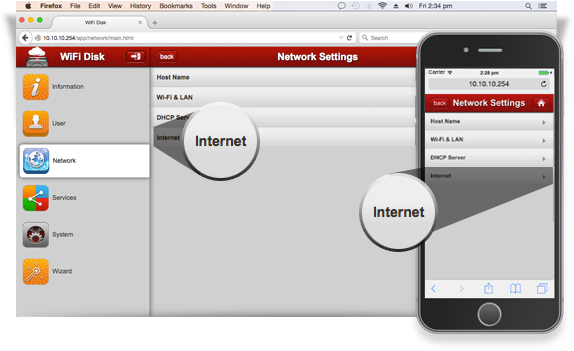
- Select Internet from the menu options.
- From the available SSIDs, select the SSID of the wireless network that provides Internet connectivity.
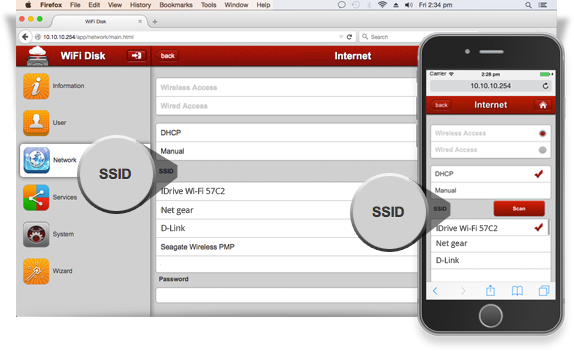
- Enter your network password (if required).
- Click/tap the Save button.
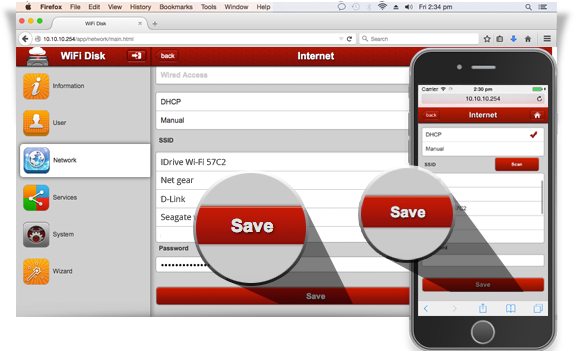
To connect to IDrive Wi-Fi, use default network password '11111111'.
Security Note: We recommend you to change the default password for the IDrive Wi-Fi device - open a web browser, go to http://10.10.10.254 and follow the wizard.
Configure using wired mode
Connect the USB cable from your computer to the IDrive Wi-Fi device. Press the power button of the Wi-Fi device, till Wi-Fi LED goes off and only the disk LED remains lit up. Although, the wireless mode is convenient, and allows multiple device backup (concurrently up to 5 devices), you can consider the wired mode for faster backup/restore speed.
