User Guide: Restore a physical machine as a new VM on VMware ESXi
This guide explains how to restore a Windows Entire Machine Backup (EMB) as a fully functional virtual machine (VM) on a VMware ESXi server using the IDrive® 360 application.
This process is useful for hardware failure recovery, physical-to-virtual migration, or creating test and validation environments. It restores the operating system, system settings, and data with minimal downtime.
1. Prerequisites
Before starting the restore operation, ensure the following requirements are met:
Access to VMware ESXi Host
- Valid credentials to log in using the vSphere Client or Web Client.
Available Entire Machine Backup
- A complete online Entire Machine Backup must be available in your IDrive® 360 account.
Download the state.xml File
- Required to identify disk layout, partition type, and operating system details.
- Path: IDMachineBackup → >MachineName< → state.xml
Download the System Recovery ISO
- Download the IDrive360WinRE.iso file used for system recovery.
- Select the ISO based on the partition type (MBR or GPT) specified in state.xml.
ESXi Storage and Resources
2. Restore process
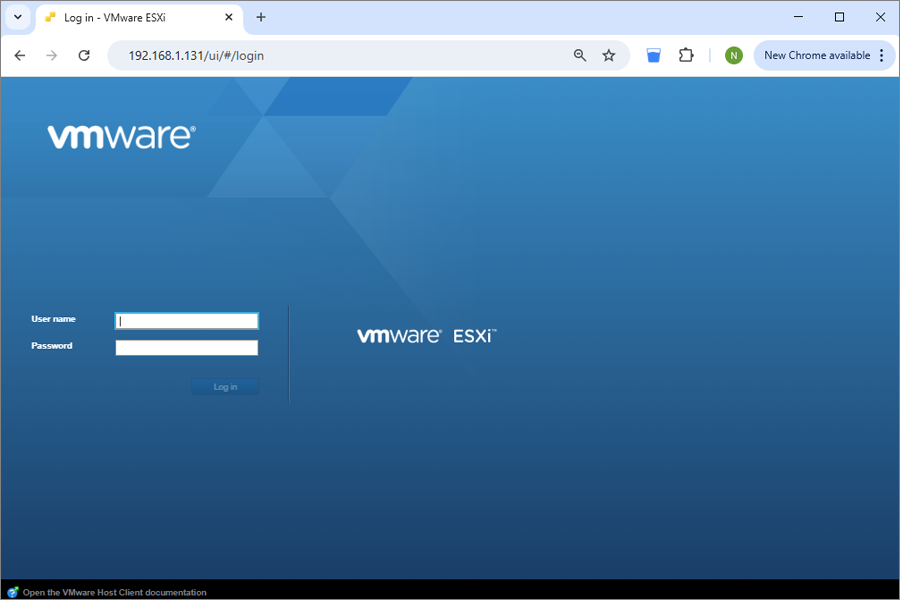
2.1 Access the ESXi host
- Sign in to the ESXi host using the vSphere Client or Web Client.
2.2 Upload the System Recovery ISO
- Download the IDrive360WinRE.iso file.
- Navigate to Storage > Datastore Browser > Upload.
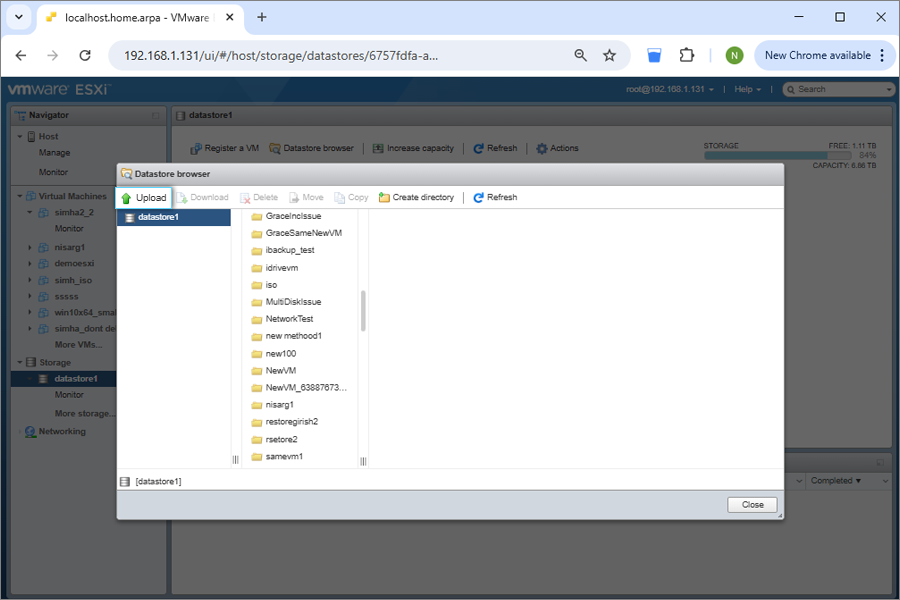
- Upload the ISO file to the datastore.

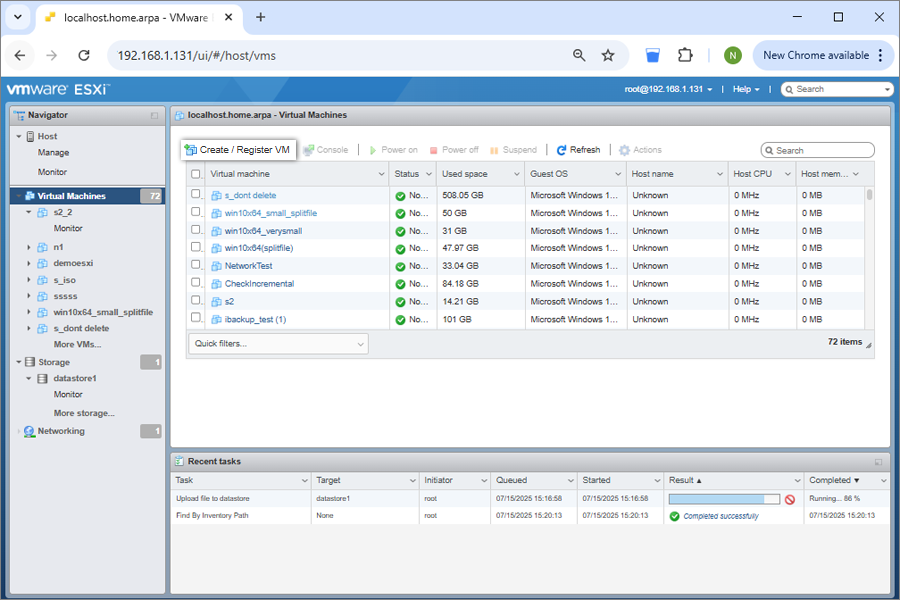
2.3 Create and Configure a New Virtual Machine
- Enter a name for the VM.
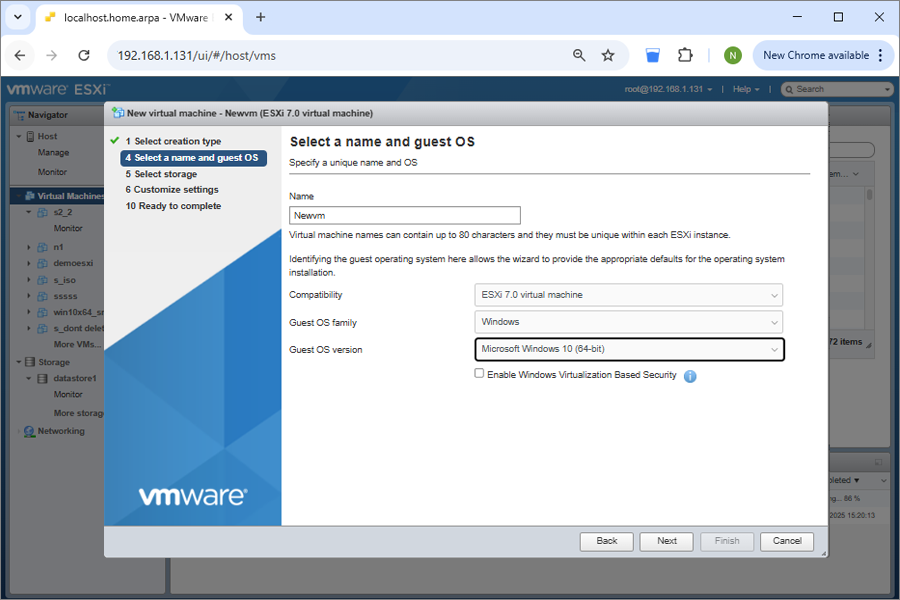
- Select the Guest OS type based on the Windows version specified in state.xml.
- Choose the target datastore.
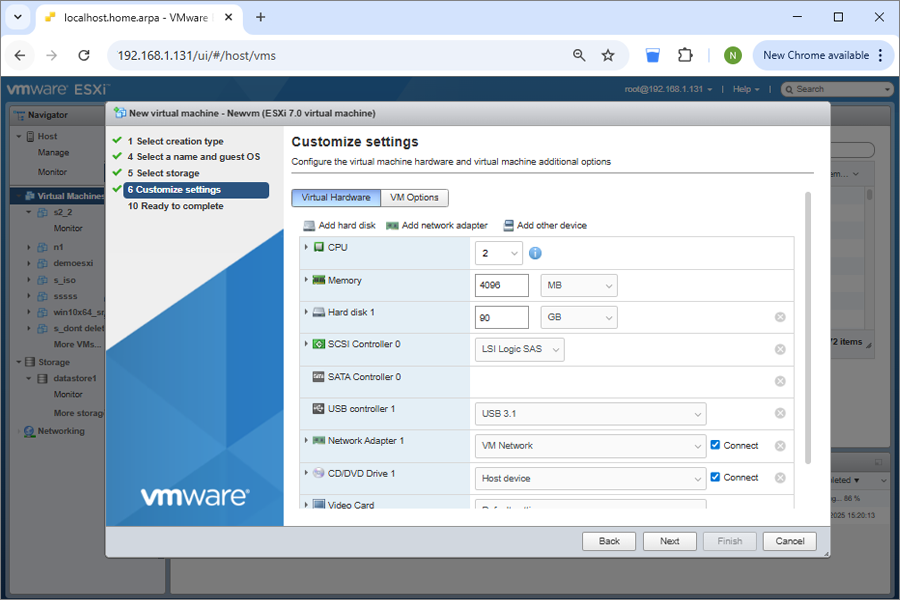
- Configure virtual hardware:
- Create the required hard disks based on the disk details in state.xml.
- For CD/DVD Media, browse and select the uploaded IDrive360WinRE.iso.

2.4 Configure Firmware based on Partition Type
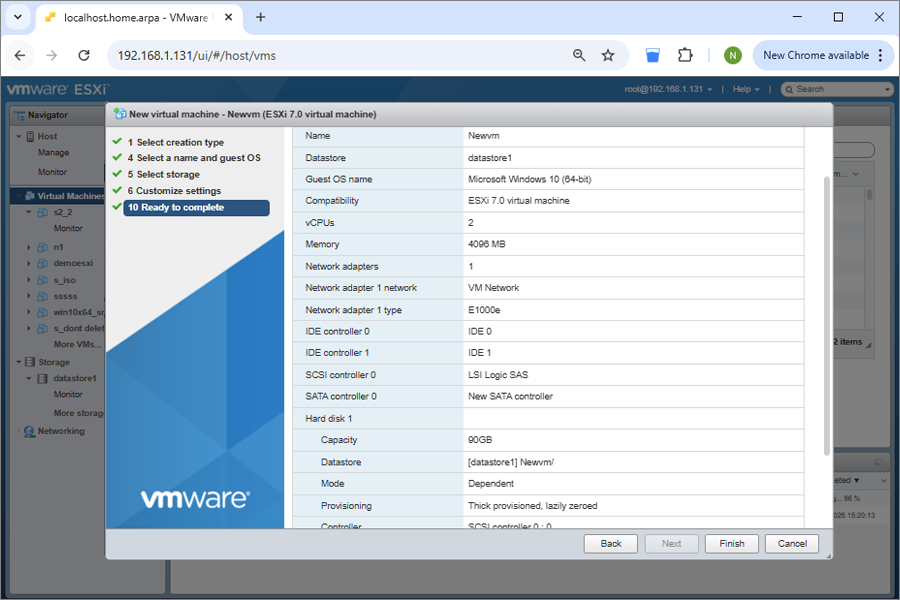
- Review the VM summary and click Finish.
- Before powering on the VM:
- Go to VM Settings > VM Options > Boot Options
- Set firmware as follows:
MBR: BIOS
GPT: EFI
- Disable UEFI Secure Boot.
- Save the changes.
3. Boot and Restore Using IDrive® 360
- Power on the VM.
- The VM boots into the IDrive® 360 recovery environment.
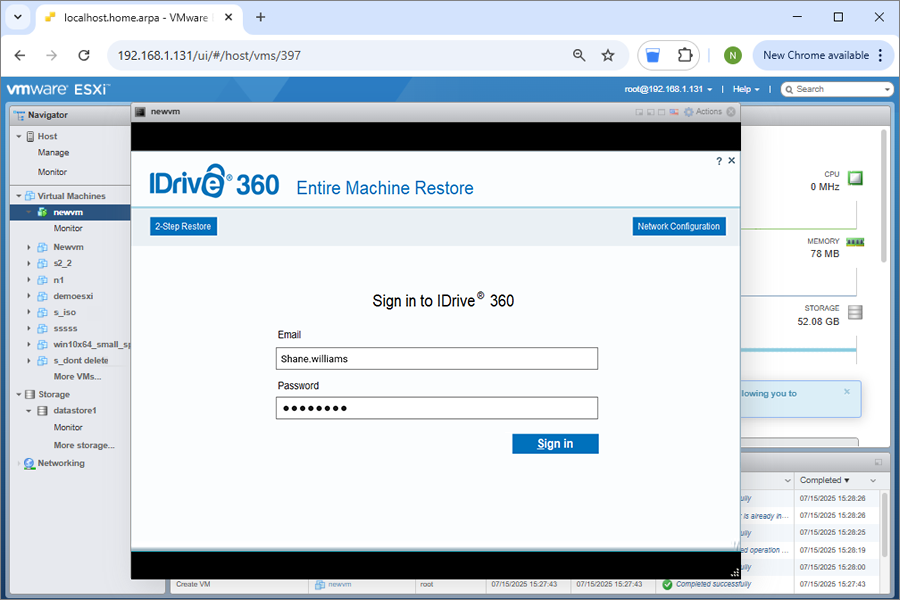
- Restore the backup from:
- Your IDrive® 360 cloud account, or
- An external HDD connected to the ESXi host containing the Entire Machine Backup.
3.1 Restore from IDrive® 360 Cloud Account
- Sign in to your IDrive® 360 account.
- Select the device.
- If private encryption is enabled, enter the private key.
- Select the IDMachineBackup folder.
- Choose the target virtual disk and click Restore Now.
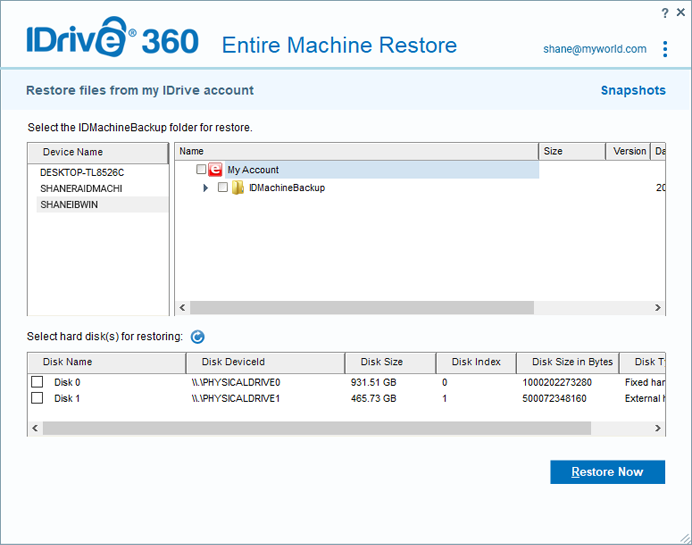
- Confirm overwrite when prompted.
- Choose one of the restore methods:
4. Post-Restoration Steps
- After the restore completes, shut down the VM.
- Open VM Settings.
- Under CD/DVD Drive, change the connection from ISO image to Host Device.
- Power on the VM to boot from the restored disk.
5. Important notes
- Always use a valid and complete Entire Machine Backup.
- Ensure adequate ESXi host resources (CPU, RAM, disk, and network).
- Verify the partition type (MBR or GPT) and corresponding firmware (BIOS or EFI) using state.xml.
6. Compatibility
- Supported Windows Versions: Windows 8.1 and later
- Supported ESXi Versions: ESXi 6.5 and later
Passthrough USB or External Drive to an ESXi Virtual Machine
To make an external USB drive available inside a VM:
- Connect the USB HDD to the physical ESXi host.
- In the vSphere Client, select the target virtual machine.
- Right-click and choose Edit Settings.
- Click Add other devices and select USB Device.
- Select the connected USB drive and click OK.
The drive becomes accessible within the guest operating system.
Reading state.xml to Configure Disk Size and Partition Type
- Download the state.xml file from the Entire Machine Backup.
- Open the file using a text editor.
- Locate the Disk section.
- Identify:
- Disk size (DiskType Size)
- Partition type
- Number of disks
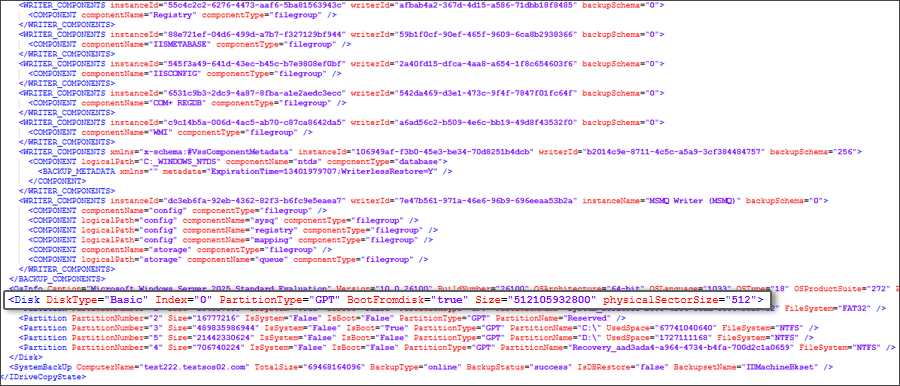
- Convert disk size values to GB when configuring the virtual machine.
Recovery Limitations:
Restoring and booting from an Entire Machine Backup may not succeed in all scenarios. Factors such as hardware differences, boot file issues, RAID configurations, or other system inconsistencies can prevent a successful restore. A valid backup does not guarantee full system recovery in every case.
Alternative Recovery Option
If full system restoration fails, you can still restore individual files and folders from the backup to ensure access to critical data.