Hyper-V Backup
Hyper-V Backup
Backup your Hyper-V virtual machines in a few clicks and secure your virtualized system, without interrupting operations and creating downtime.
To backup your Hyper-V virtual machines using Online Backup,
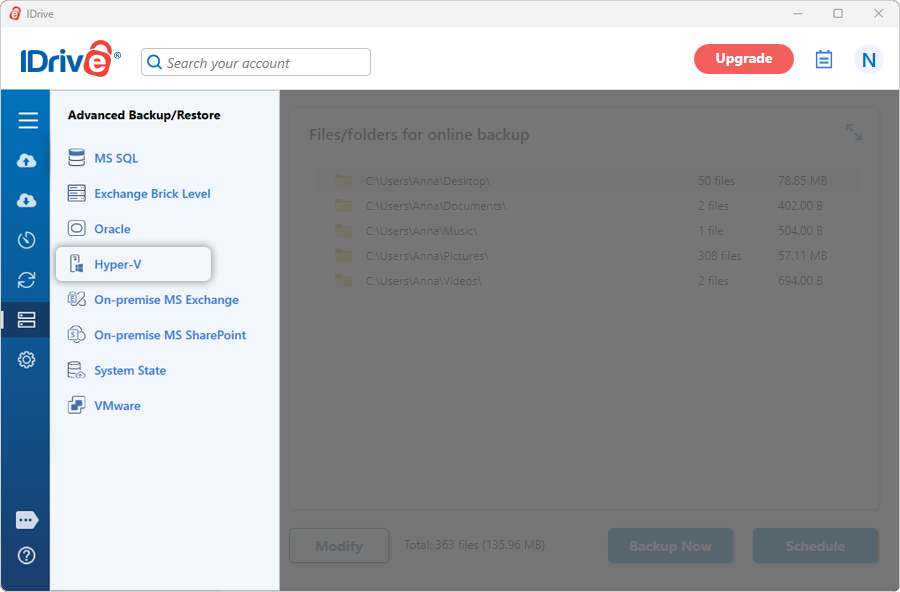
- Sign in to the IDrive application and click 'Server Backup'. A slider menu will appear.
- Click 'Hyper-V'. The Hyper-V backup/restore console appears. By default, 'Hyper-V backup' is selected.
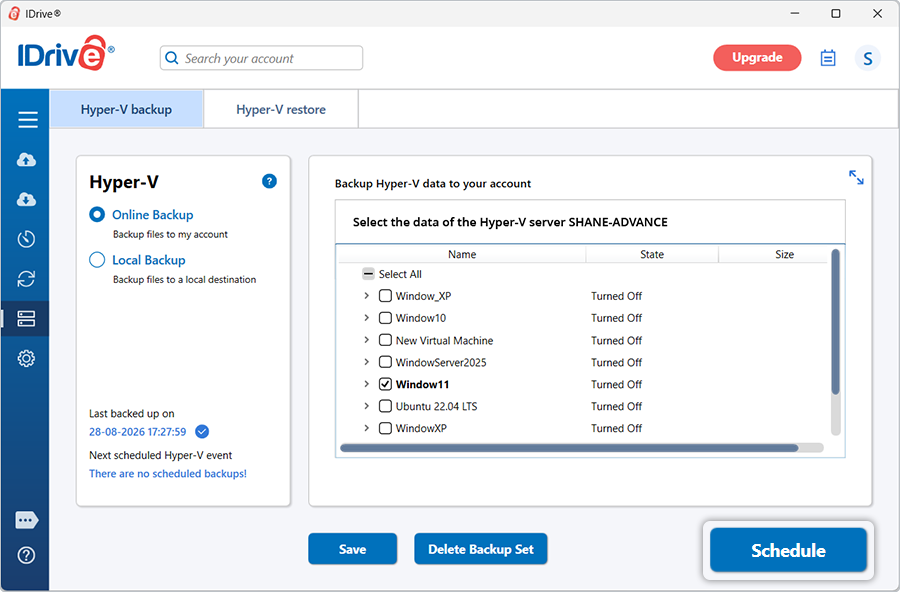
- Select 'Online Backup'.
- Select the virtual machines from the list.
- Click 'Schedule'.
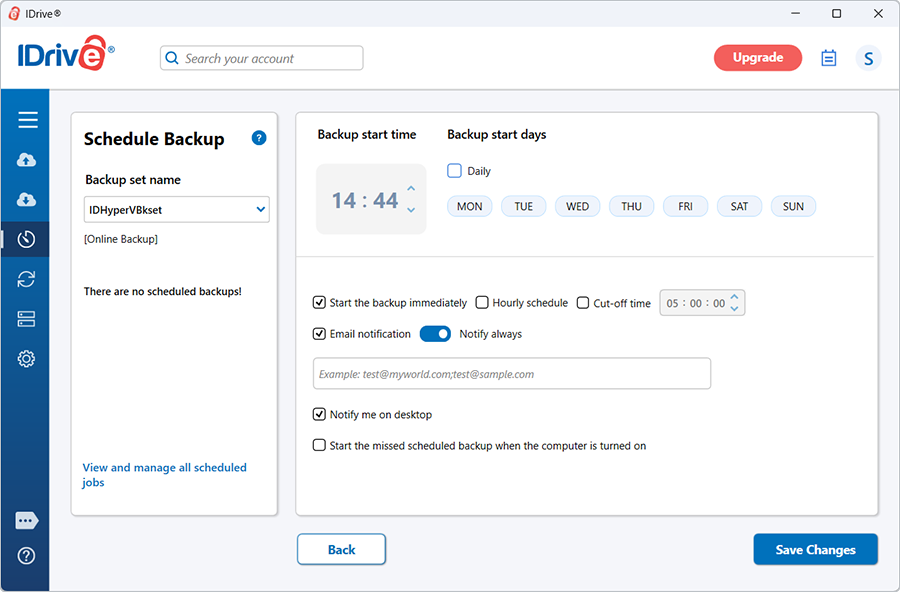
- The 'Scheduler' is displayed. Either schedule the backup for any future day and time or perform an immediate backup of the selected virtual machines.
The backup progress will be displayed on the screen.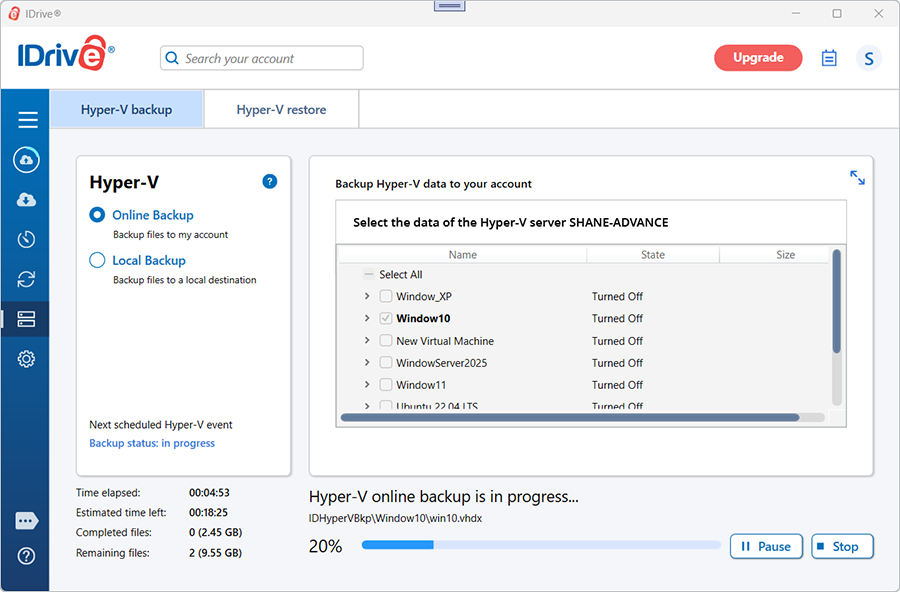
To backup your Hyper-V virtual machines using Local Backup,
- Sign in to the IDrive application and click 'Server Backup'. A slider menu will appear.
- Click ‘Hyper-V’. The Hyper-V backup/restore console appears. By default, ‘Hyper-V backup’ is selected.
- Select 'Local Backup'.
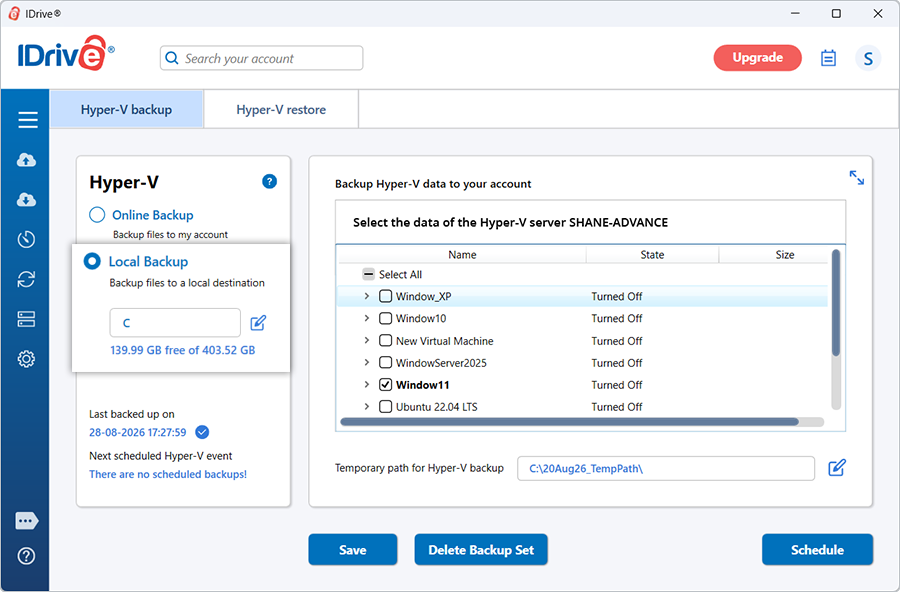
Note: On selecting ‘Local Backup’ the data will be stored in the local drive.
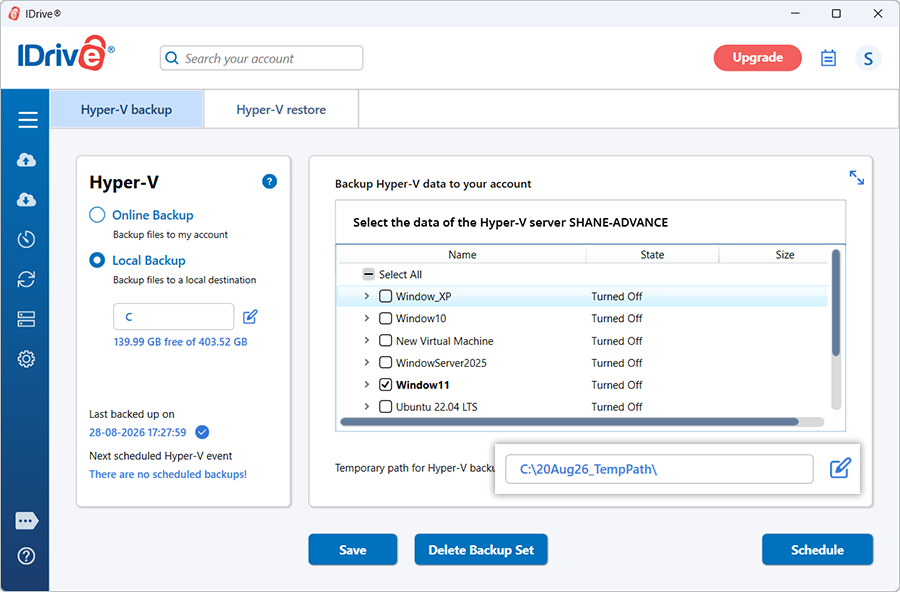
- Select the virtual machines from the list and specify a temporary path for the local backup.
Note: For Local Backup, specify a temporary path. (Once Local Backup is initiated, the ‘IDHyperVData’’ folder is automatically created).
- Click 'Schedule'.
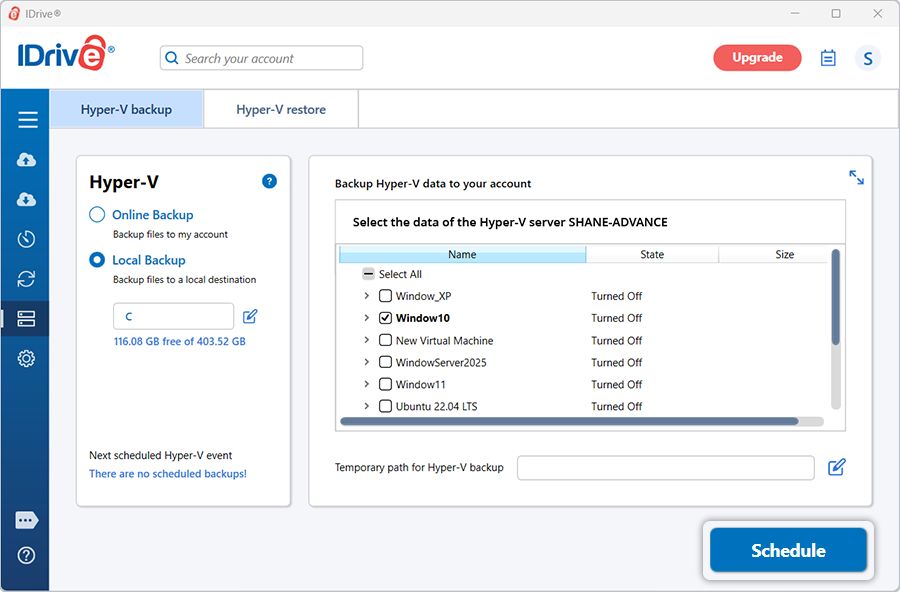
- The 'Scheduler’ is displayed where you can schedule the backup for any future day and time or perform an immediate backup of the selected virtual machines.
The backup progress will be displayed on the screen.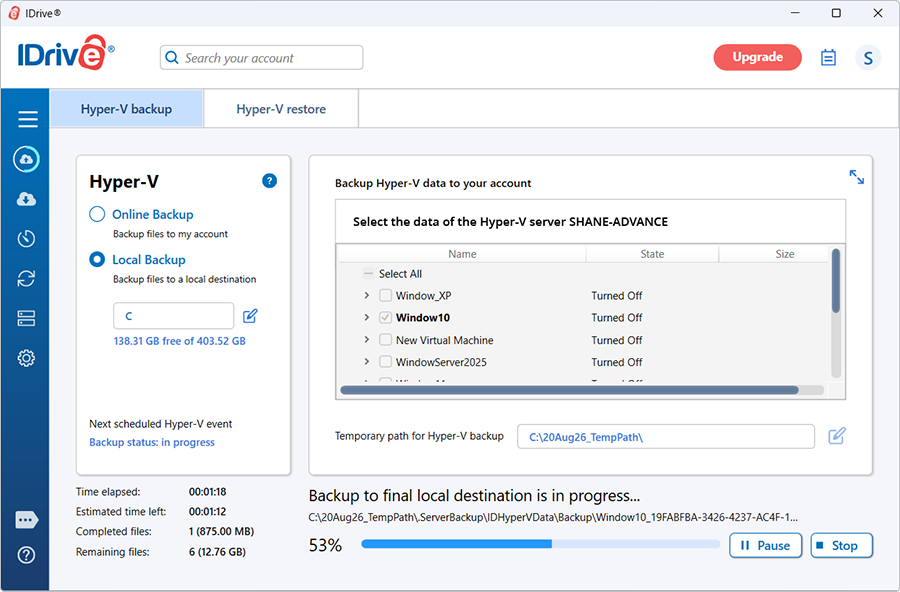
View steps to restore Hyper-V.